

- Prepare the Cable:
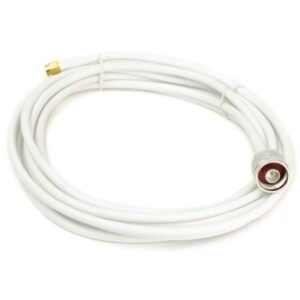
– Strip the Cable: Use a coaxial cable stripper to remove approximately 1.5 to 2 inches (38 to 50 mm) of the outer insulation from the LMR-400 cable. Be careful not to damage the underlying braided shield.
– Expose the Shielding: Fold back the braided shield (or foil shield) over the outer insulation.
– Trim the Dielectric: Carefully trim the dielectric (the foam or insulating layer around the center conductor) so that about 1/4 inch (6 mm) of the center conductor is exposed. - Prepare the Connector:
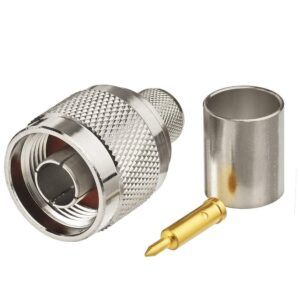
– Ensure that you have the correct TNC male RP connector for LMR-400. The connector will typically include a crimp ferrule, crimp pin, and the connector body.
– Check Connector Components: Familiarize yourself with the connector parts: the crimp ferrule (sleeve), crimp pin, and connector body. - Insert the Crimp Pin:
– Crimp Pin: Slide the crimp pin onto the exposed center conductor. Ensure that the pin makes good contact with the conductor and is aligned properly.
– Crimp the Pin: Use the crimping tool to crimp the pin onto the center conductor. The crimping tool will compress the pin around the conductor, creating a solid connection. - Attach the Connector:
– Crimp Ferrule: Slide the crimp ferrule (metal sleeve) over the folded-back shielding and onto the connector body. Ensure it aligns correctly with the connector body.
– Insert the Cable: Push the cable (with the crimped pin) into the TNC male RP connector until it is fully seated.
– Crimp the Ferrule: Use the crimping tool to crimp the ferrule onto the shield and connector body. This secures the shield to the connector and ensures a good ground connection. - Inspect the Connection:
– Check that the connector is firmly attached and that there are no visible gaps or loose parts.
– Verify that the cable is fully seated in the connector and that there are no exposed wires or shorts.
Test the Connection:
– If possible, test the cable and connector assembly with a network analyzer or similar device to ensure proper functionality and signal integrity.
- Additional Tips:
– Use the Correct Tools: Ensure that your crimping tool is specifically designed for TNC connectors and is in good working condition.
– Accurate Stripping: Be precise with cable stripping to ensure a good crimp. Avoid stripping too much or too little of the cable.
– Practice: If you’re new to crimping connectors, practicing on some spare cables and connectors can help you get better at the process.
Reviews
There are no reviews yet.